One of the most power features in Photoshop is “actions” and if you’ve never heard of actions before don’t worry…
Essentially actions provide a means for automating menial, repetitive tasks and processes within Photoshop, which in effect increases your productivity.
Out of the box, Photoshop already comes with a set of default actions that you can experiment with, but where the really power lies is in creating your very actions based on what your needs are as a photographer.
So, with this in mind… the first thing you want to do is outline exactly what you would like to your action to do, this includes all the adjustments, settings and order in which they are to be performed. This is important and you’ll find out exactly why shortly.
Once you’ve created your outline, it’s time to create your first action.
How Do I Create An Action In Photoshop?
The process of creating custom actions in Photoshop is relatively simple and shouldn’t take you long to learn. Now in most cases you’ll want to already have an image open within Photoshop before proceeding with the following steps.
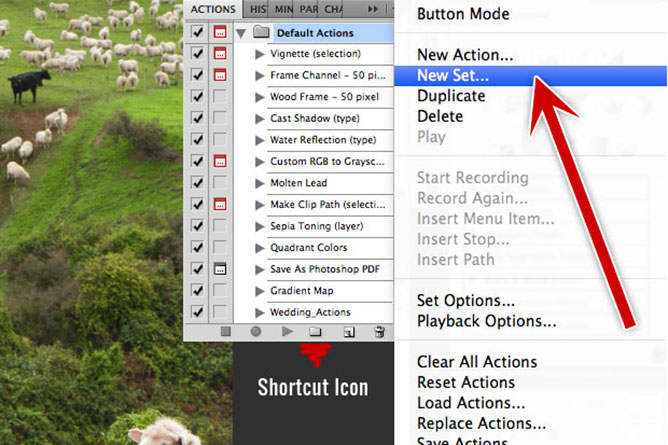
1. ) Create New Actions Set
To begin you’ll need to create a new “set” by going to the actions menu or clicking on the little folder icon at the bottom of the actions panel. Sets essentially allow you to categorize actions that you’ll create later down the track.
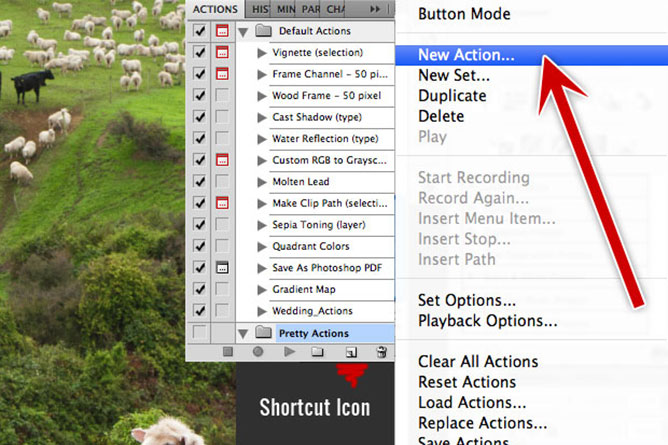
2. ) Create New Action
Once you’ve created a set, make sure it’s selected or highlighted. Now we can proceed to record a new action by clicking on the actions menu and selecting “new action”.
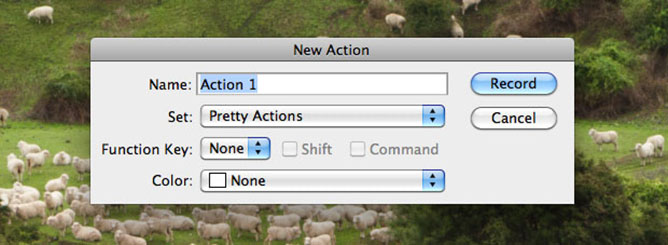
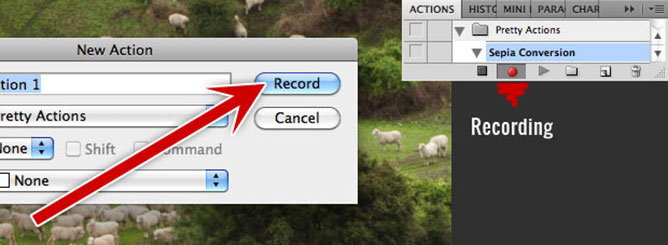
A window should appear with a field for entering the name of your action. (Make sure you enter a descriptive name that can be easily identified in the future.)
If you’re creating actions on the fly, you can also skip step 1 and choose an existing set via the drop down menu.
The function key option allows you to instantly assign keyboard shortcuts to an action which also comes in very handy for saving time.
Note: If you assign an action the same shortcut that is used for a existing command, the shortcut will apply the action rather than the command.
Colors can also be assigned to actions which are displayed when the actions panel is in button mode.
By default the actions panel appears in a list view which personally I prefer as opposed to button mode which reduces access to menu options. (Button mode can be reached via the panel menu.)
3. ) Start Recording
Now click record, after doing so you’ll notice that the recording icon in the action panel turns red.
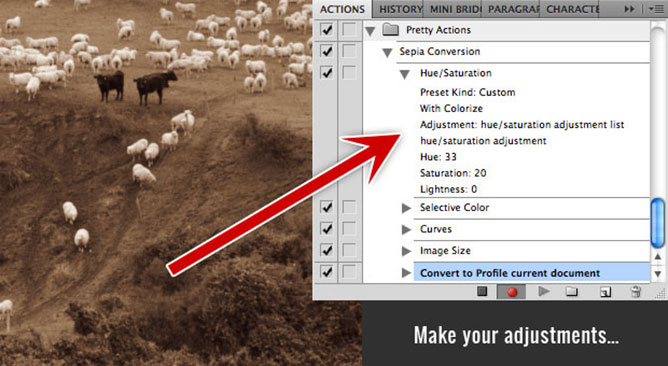
4. ) Perform Actions
Go ahead now and perform the operations you outlined earlier whilst recording. This is similar to if you were recording a video or audio track. Not all tasks in actions can be recorded directly. However, you can insert most non-recordable tasks using commands in the Actions panel afterwards.
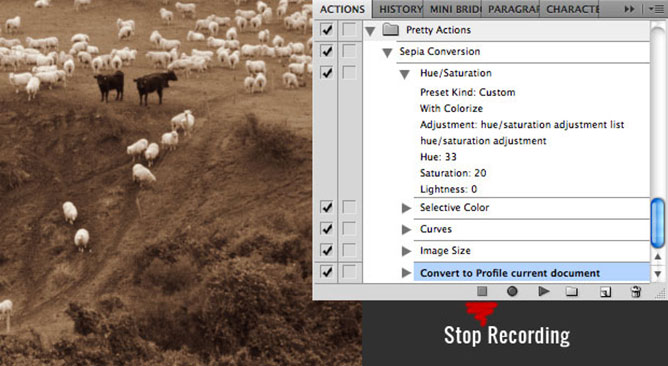
5. ) Stop Recording
Once you’ve finished performing your actions, stop recording by either clicking the stop button, or choose stop recording from the actions panel menu. (In Photoshop, you can also press the Esc key.)
Now that you’ve recorded your action it’s time to put it to the test. Go ahead, choose an unedited image, select your action and press the PLAY icon at the bottom of the actions panel.
If you’ve implemented your action correctly, everything should work as expected. If not, double check to see where you may have gone wrong with your recording.
Applying actions to one image at a time isn’t very productive at all and in part two of this tutorial, I’ll reveal how to batch process entire folders of photos using actions.


Share This Post With Your Friends...
Share the post "How To Use Actions In Photoshop To Increase Your Productivity"